 +91 97181 19993
 info@kesaria.com

 O-Rings
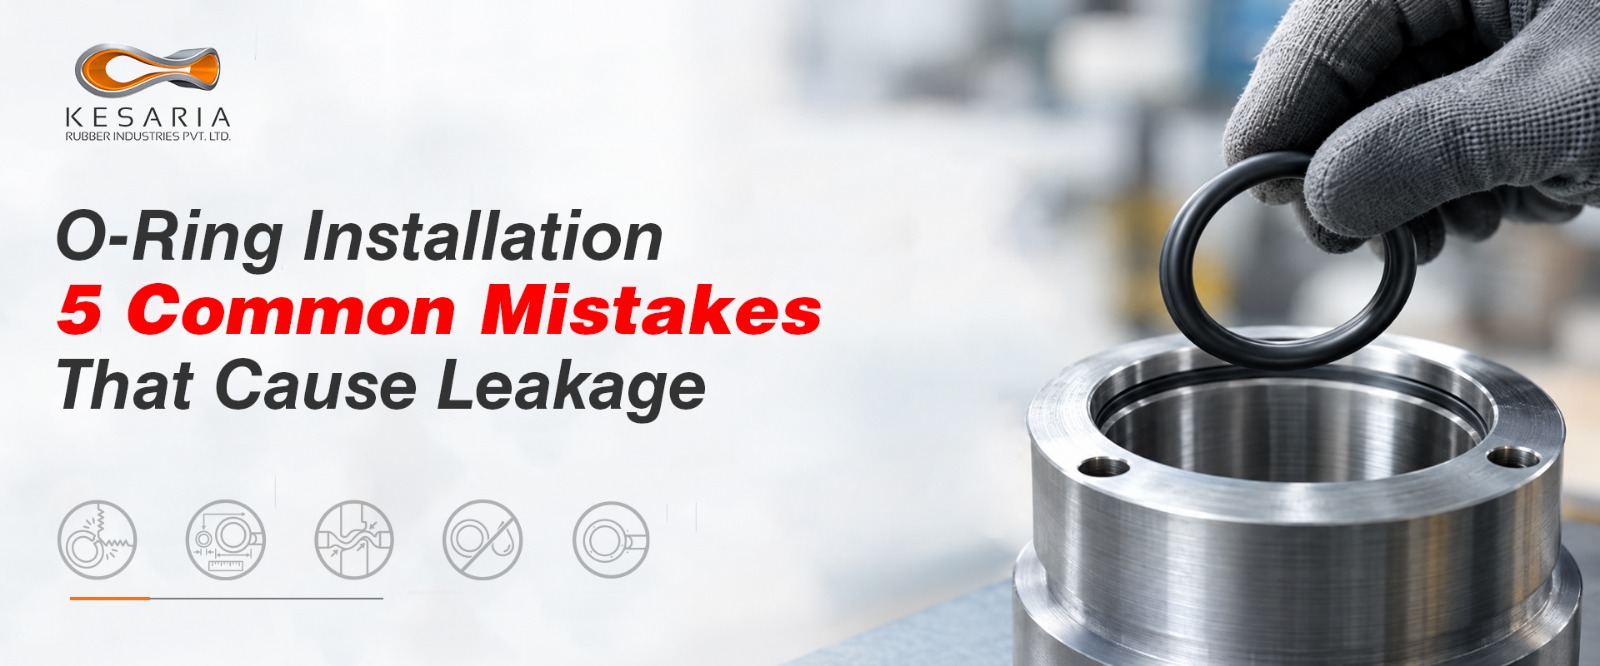
An O-ring can have the right material, size and design, yet still fail because of improper installation. A small cut, twist or pinch may not cause immediate leakage, but operating pressure, temperature and repeated movement can worsen the damage over time.
This guide covers five common installation mistakes, from sharp edges and incorrect sizing to poor lubrication and contamination, and explains how to prevent them for more reliable sealing performance.
1. Installing the O-Ring Over Sharp Edges
Sharp edges, threads, keyways and ports can damage an O-ring during assembly. Even a small cut or nick can create a leakage path once the seal is under pressure. Burrs can also damage the sealing surface and affect long-term performance. Lead-in chamfers help guide the O-ring into position without cutting it. When an O-ring passes over threads, use suitable protection to prevent damage.
Before installation, inspect the mating components for sharp edges, burrs or surface damage and use suitable installation aids where required.
2. Twisting, Pinching or Stretching the O-Ring
An O-ring must sit evenly inside its groove without twisting or excessive stretching. Twisting can create uneven sealing, while pinching can cause cuts, tears or permanent deformation.
Excessive stretching can change the O-ring’s intended dimensions and affect its sealing contact. During gland closure, incorrect movement can also bunch or cut the seal.
Careful positioning and suitable installation methods help prevent these issues and maintain consistent sealing performance.
3. Using the Wrong O-Ring Size
Correct sizing is essential for achieving the required sealing contact. An undersized O-ring may not provide sufficient compression, while an oversized O-ring can be difficult to position correctly. Piston and rod applications also have different sizing requirements. Incorrect dimensions can increase the risk of excessive stretching, pinching or extrusion during operation.
Before assembly, verify the O-ring dimensions against the specified groove and application requirements.
4. Installing Without Proper Lubrication
Dry installation can increase friction and make it harder to position an O-ring correctly.
Suitable lubrication helps the O-ring move into the groove with less force, reducing the risk of twisting, pinching or surface damage during assembly.
However, the lubricant must be compatible with the O-ring material and the application. It should also not contaminate the system or affect sealing performance.
5. Ignoring Cleanliness During Assembly
Dirt, metal particles and other contaminants can damage the O-ring or mating surface during assembly. Particles trapped between the seal and sealing surface can create small gaps that allow leakage. Contaminated grooves can also prevent the O-ring from seating correctly.
Before assembly, clean the O-ring, groove and mating surfaces.
Keeping the sealing area free from contamination helps maintain proper contact and reduces installation-related damage.
How to Prevent Installation-Related Leakage
- Verify the correct O-ring size and material.
- Inspect grooves and mating surfaces for damage.
- Remove burrs and sharp edges before assembly.
- Use a compatible lubricant where required.
- Keep the O-ring and sealing surfaces clean.
- Avoid twisting, cutting or excessive stretching.
Confirm the O-ring is seated correctly before closing the assembly.
The goal is simple: prevent installation damage before it becomes a sealing failure.
Conclusion
An O-ring can perform reliably only when material, design and installation work together. Proper assembly helps prevent avoidable leakage and extends sealing life.
Need help with your sealing requirements?